
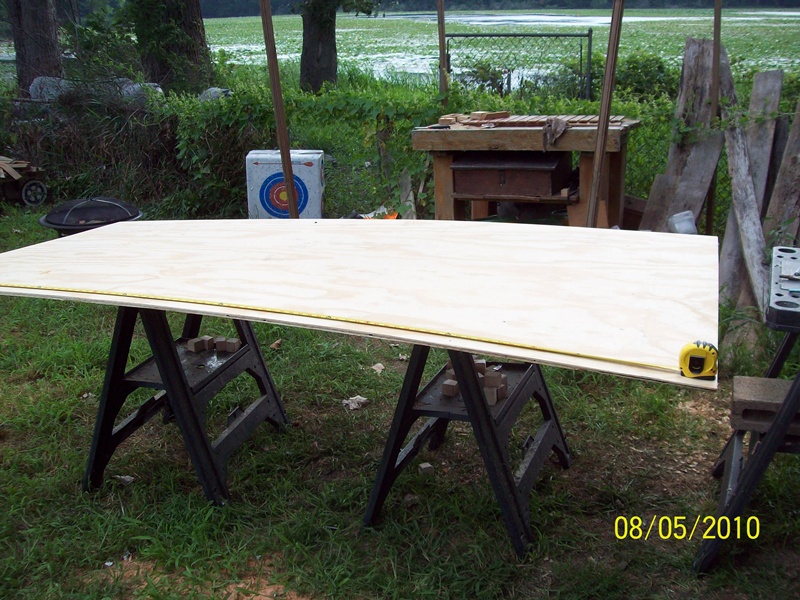
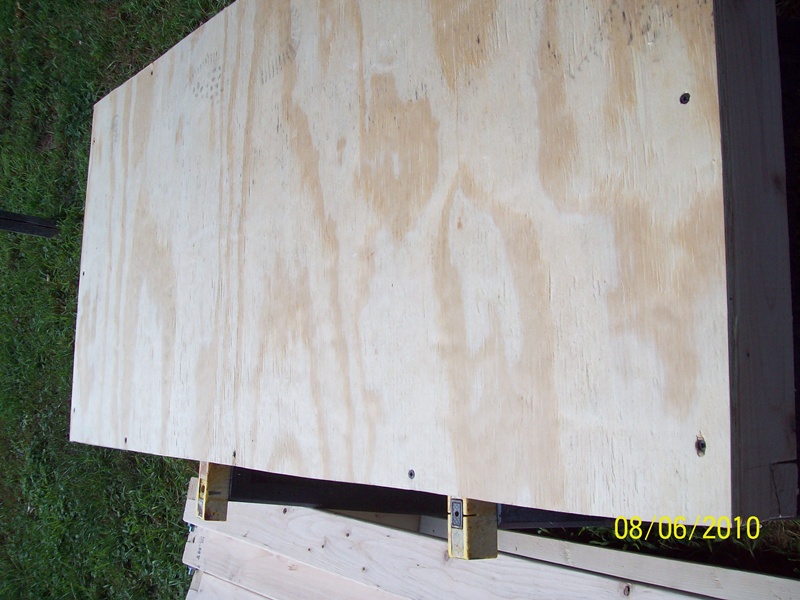
 Measure and mark it at 2ft intervals. This will give us four 2' by 4' table tops. (Change to 1 ft intervals for benches.)
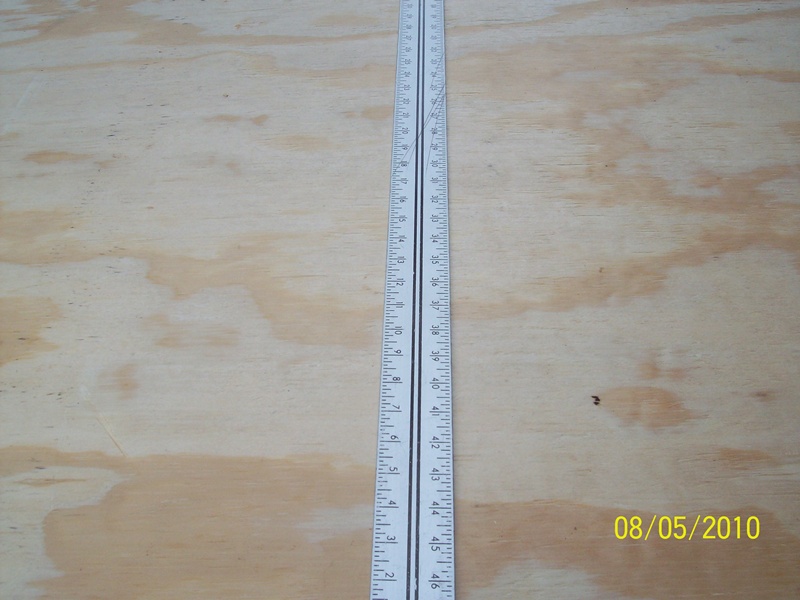 Mark a straight line across the table and cut the tops. (I used a drywall square to make the lines.)
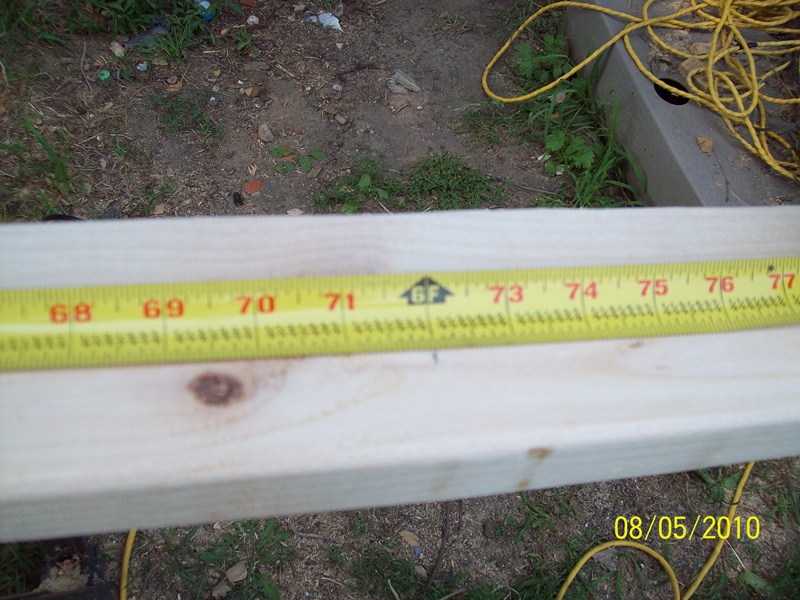
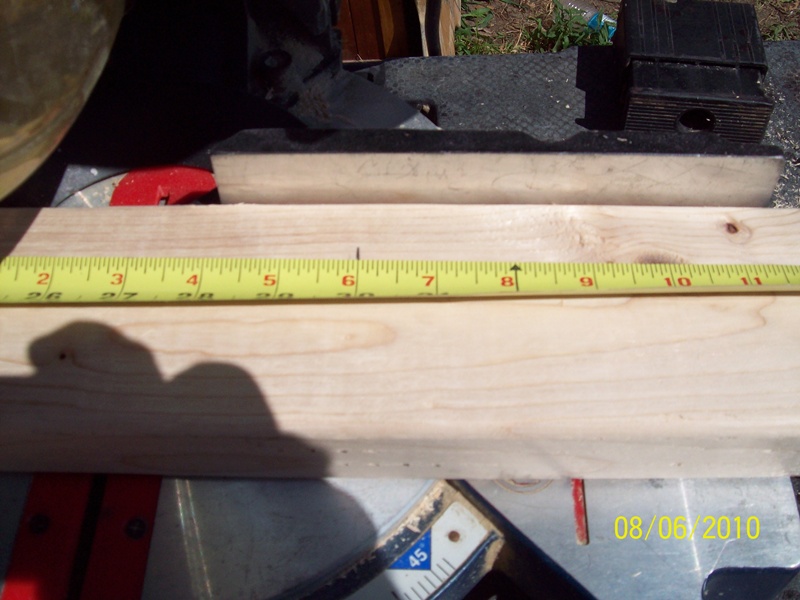
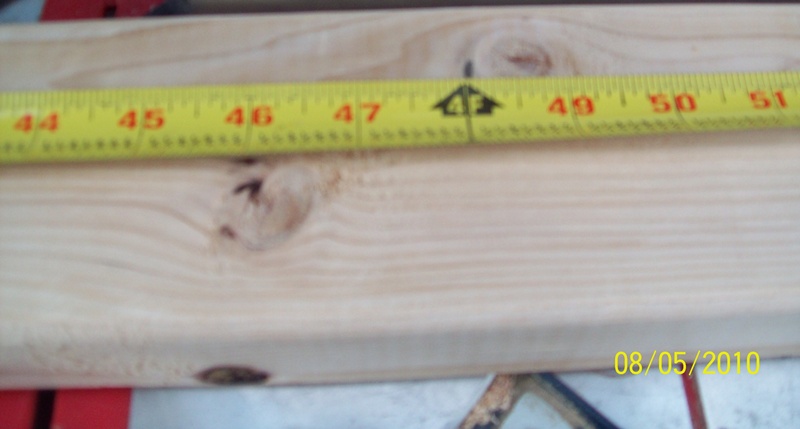 Measure 4 ft lengths on 4 of the 2x4s.
 Cut the 2x4s on the marks. This will give you 8 rails for the tops.
 Measure 2 ft intervals on two of the 2x4s for the crosspieces. (Measure 1 ft for the benches).
Cut the 2x4s on the marks.
Measure 2 ft intervals on two of the 2x4s for the crosspieces. (Measure 1 ft for the benches).
Cut the 2x4s on the marks.
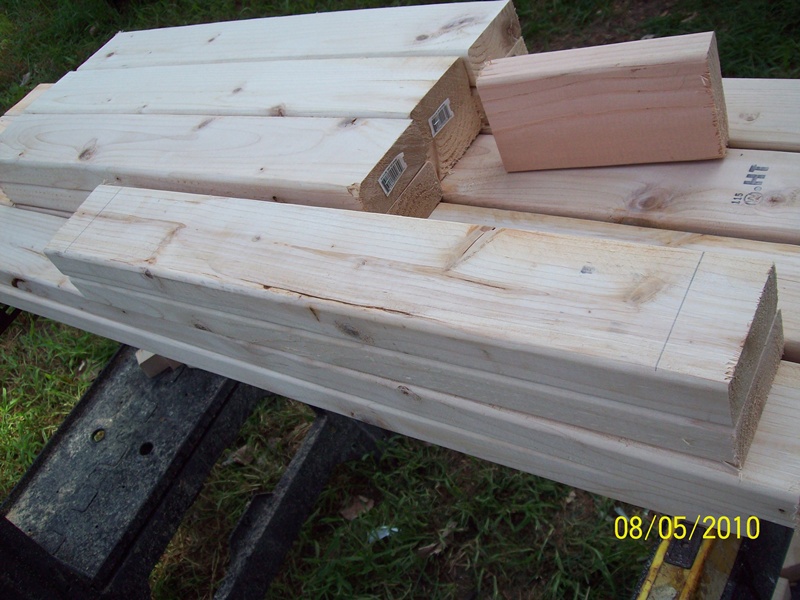
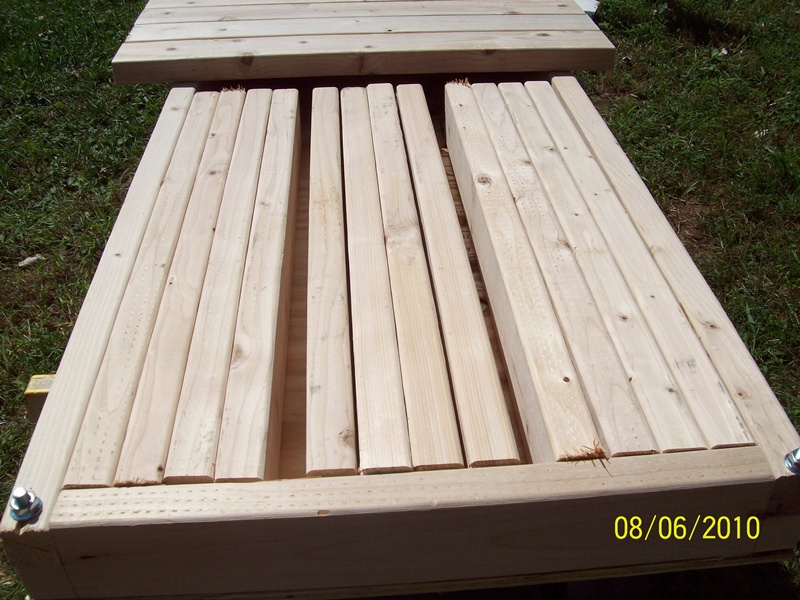
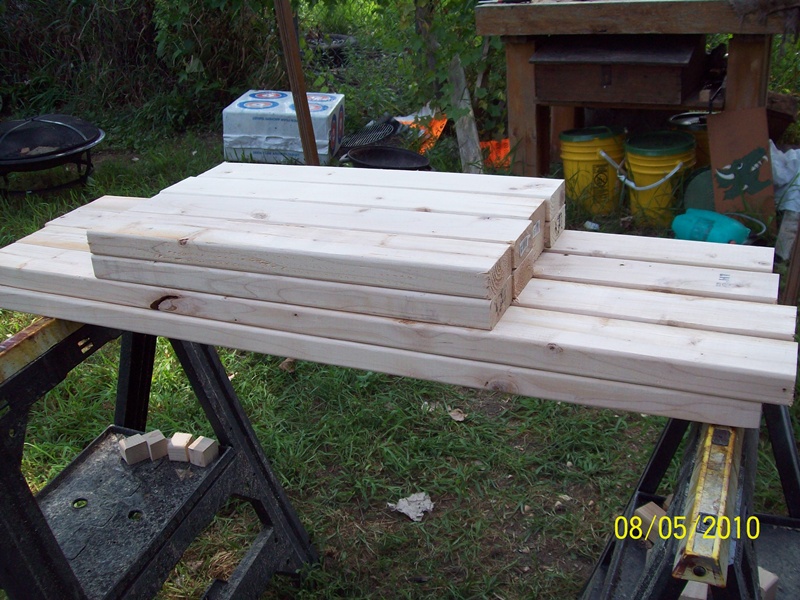 You should now have all the pieces cut for your tops.
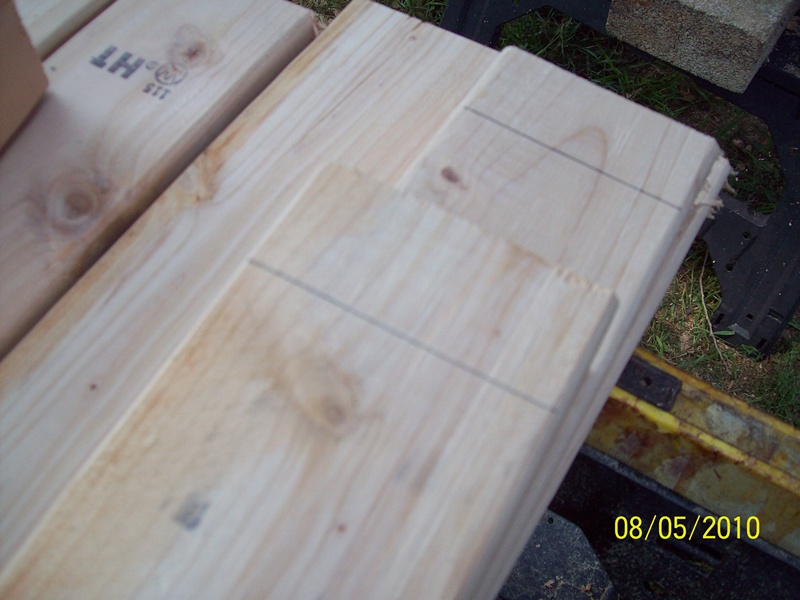
 Using a piece of scrap 2x4, mark a line one 2x4 width from the end of each of the pieces. This only needs to be done on the top of the 2 x 4 on the 4 inch wide side.
 Repeat this for all the pieces on both ends - rails and crosspieces.
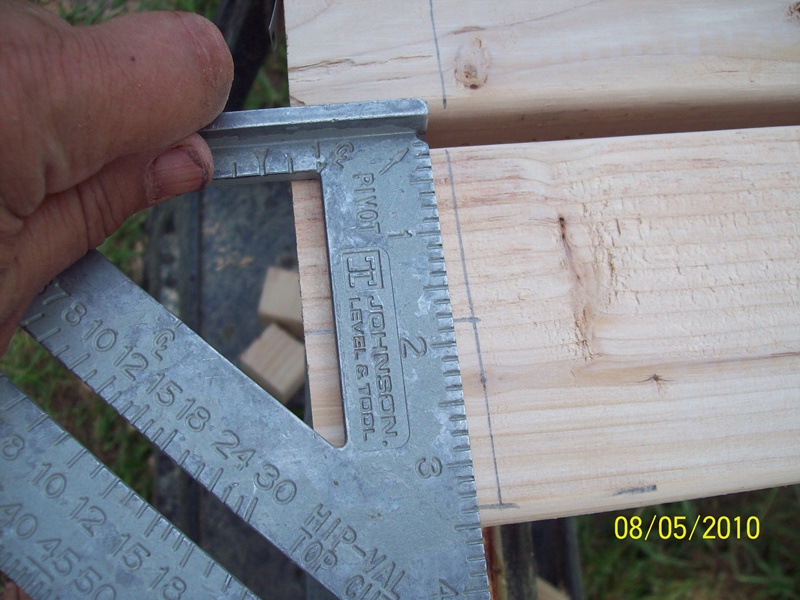
 Make a mark at 1 3/4 inches. Draw a line to the line previously made, forming a T, dividing the 2x4 in half.
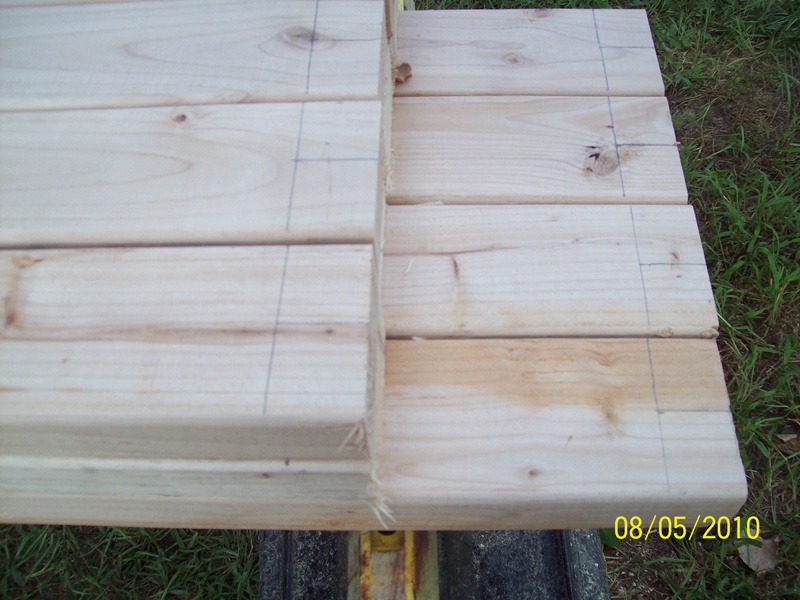 Do this for all the rails and crosspieces.
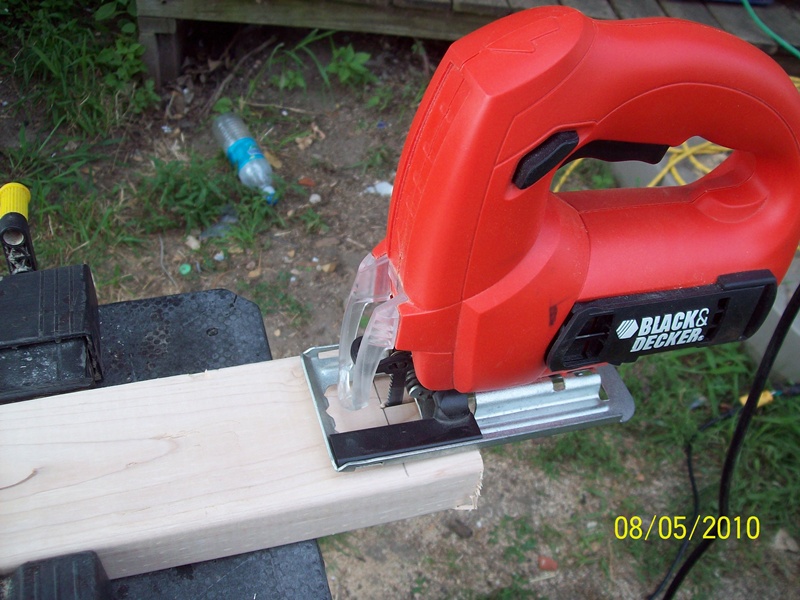
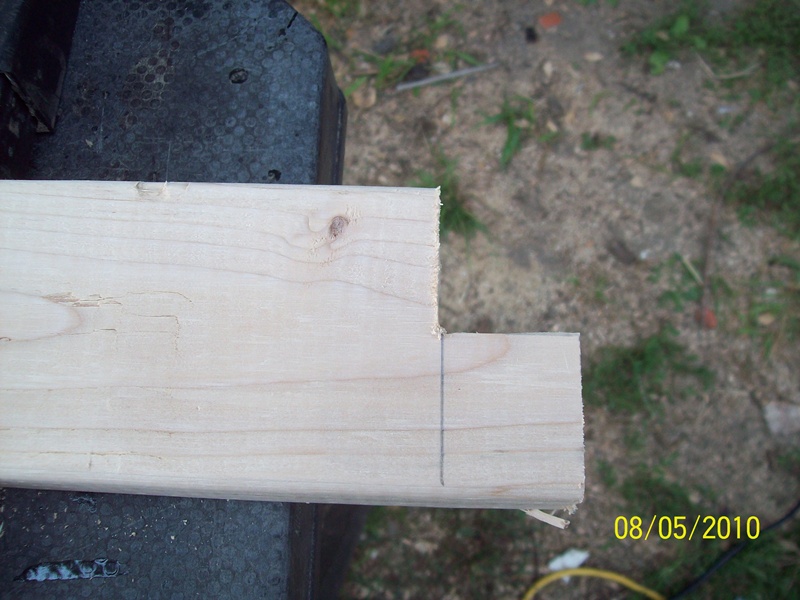
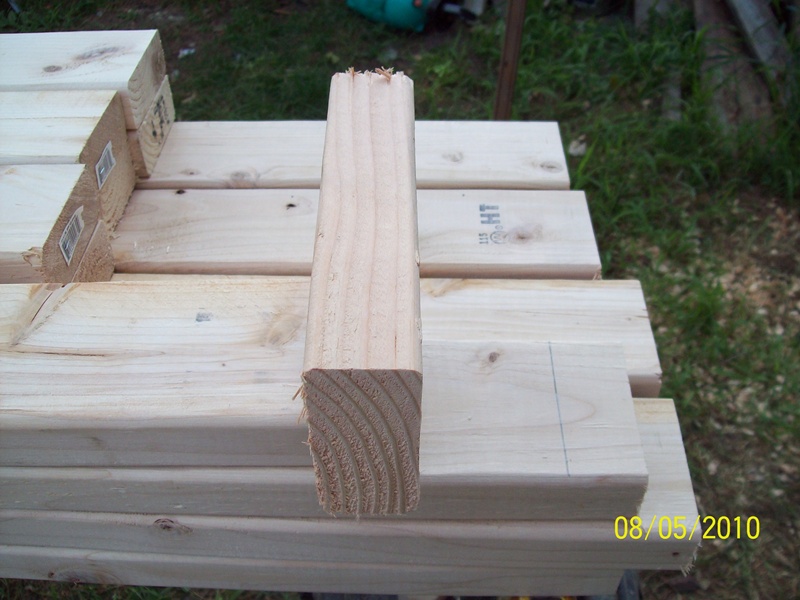
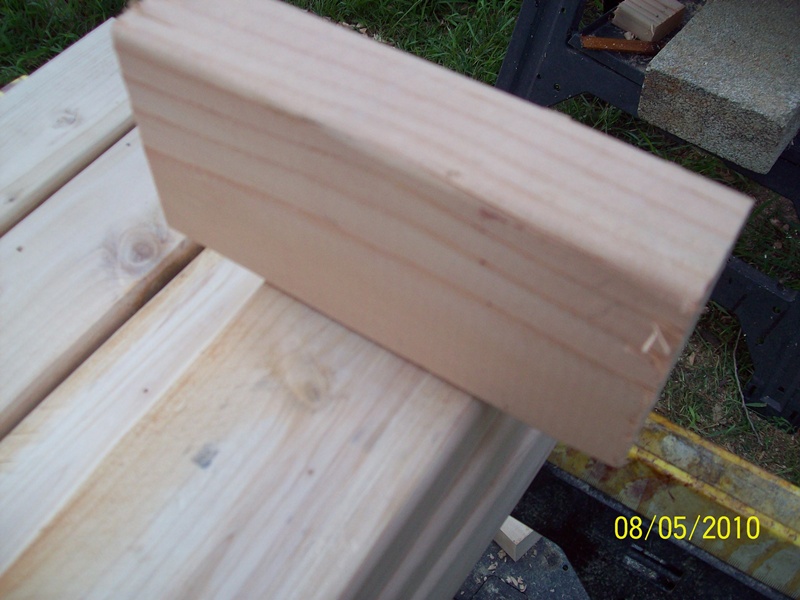
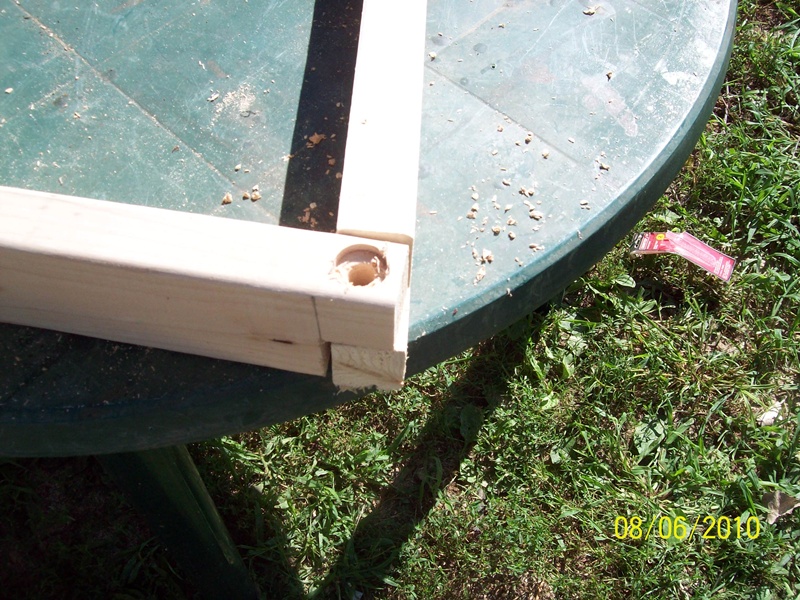
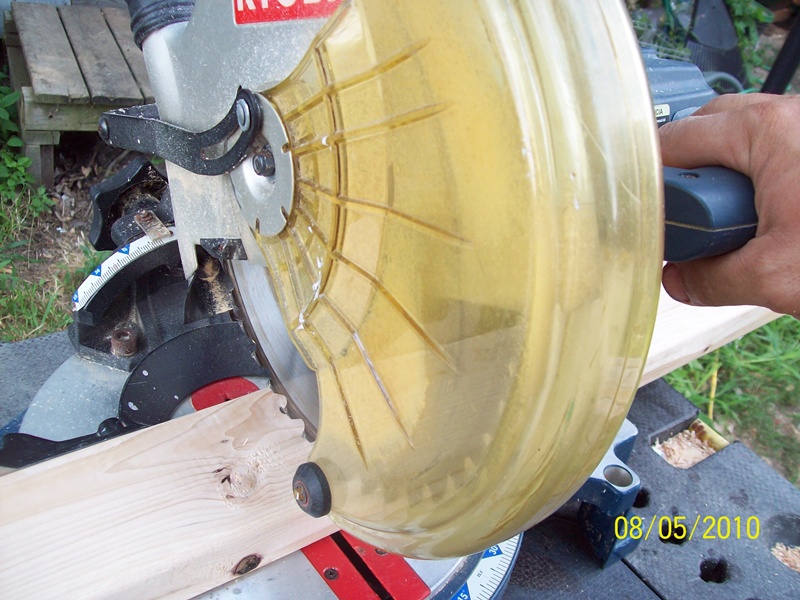
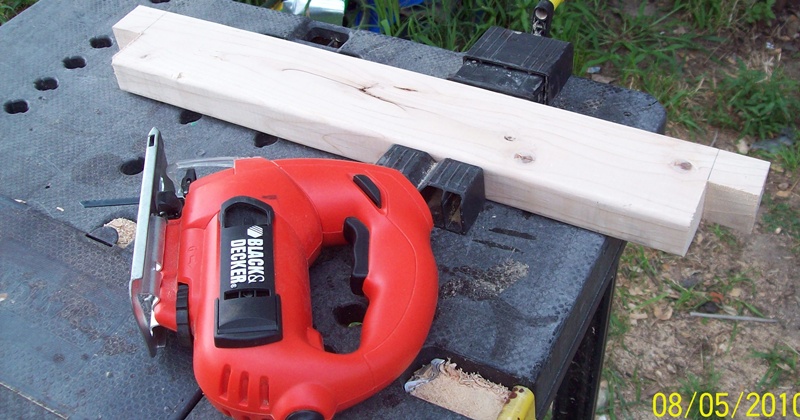 Next cut out one of the boxes you have drawn, making an L. Do this for both ends of the 2x4, cutting out on the same edge. Again, do this for all the rails and crosspieces. These do not have to be perfect - they are very forgiving.

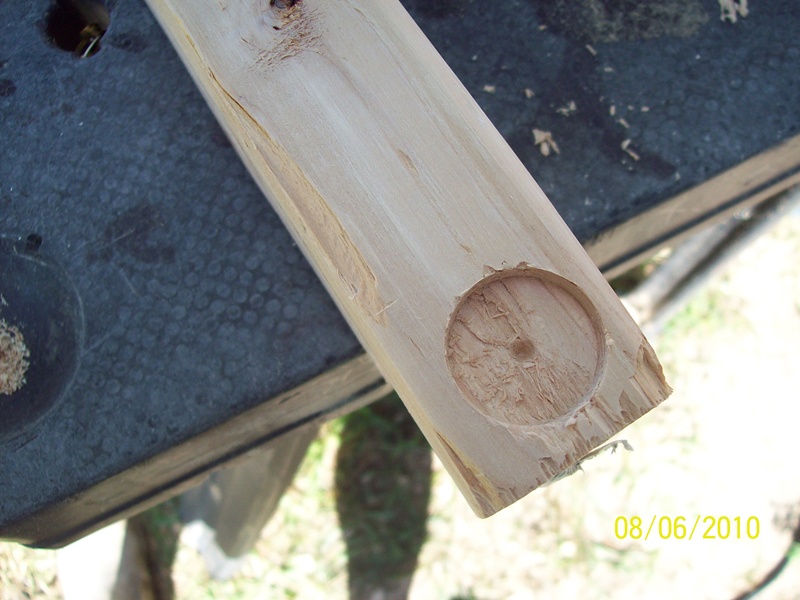
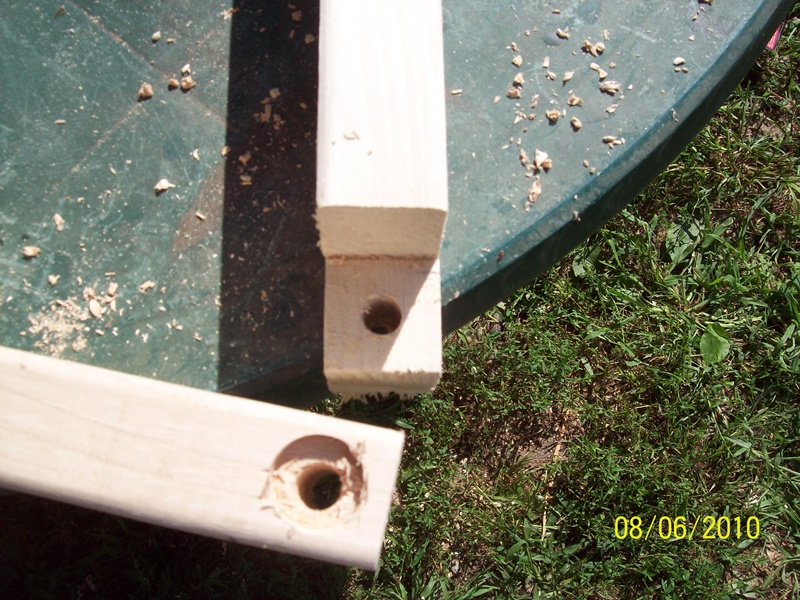
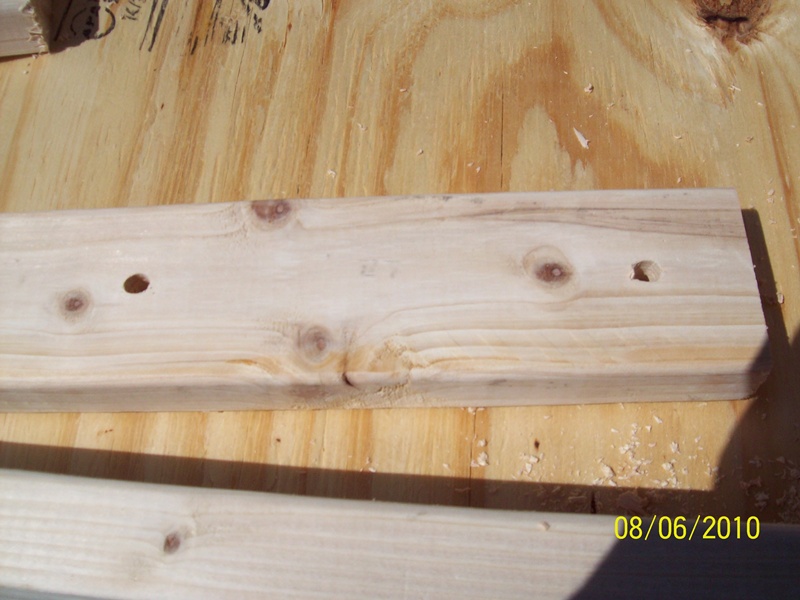
 To provide room for the bolt and nut, drill out a hole deep enough for the bolt to safely fit. This is a countersink. Drill on the side opposite of the box you cut out. Make sure the bit you use
is wide enough to fit the full top of the bolt in. Again, do this for all the rails and crosspieces. (If you want to hide the bolts and nuts, countersink both sides and use 3 inch bolts.)
To provide room for the bolt and nut, drill out a hole deep enough for the bolt to safely fit. This is a countersink. Drill on the side opposite of the box you cut out. Make sure the bit you use
is wide enough to fit the full top of the bolt in. Again, do this for all the rails and crosspieces. (If you want to hide the bolts and nuts, countersink both sides and use 3 inch bolts.)
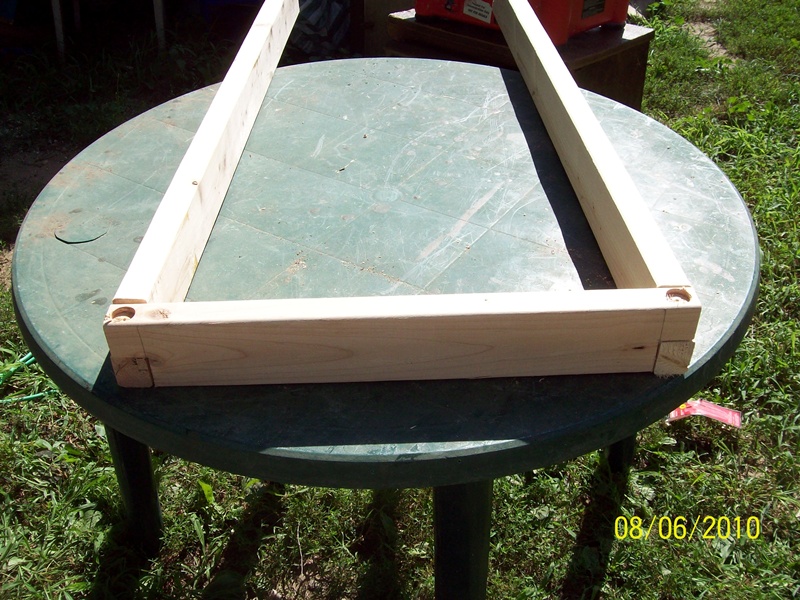
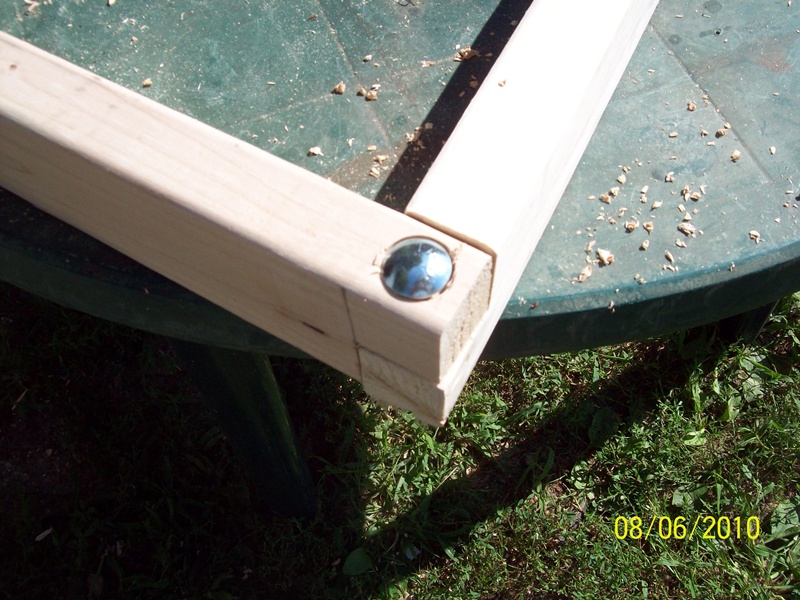
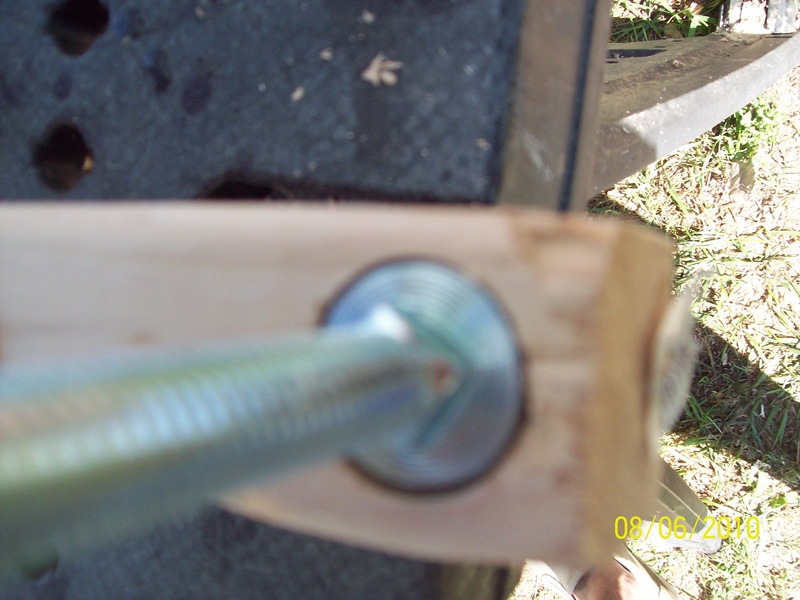
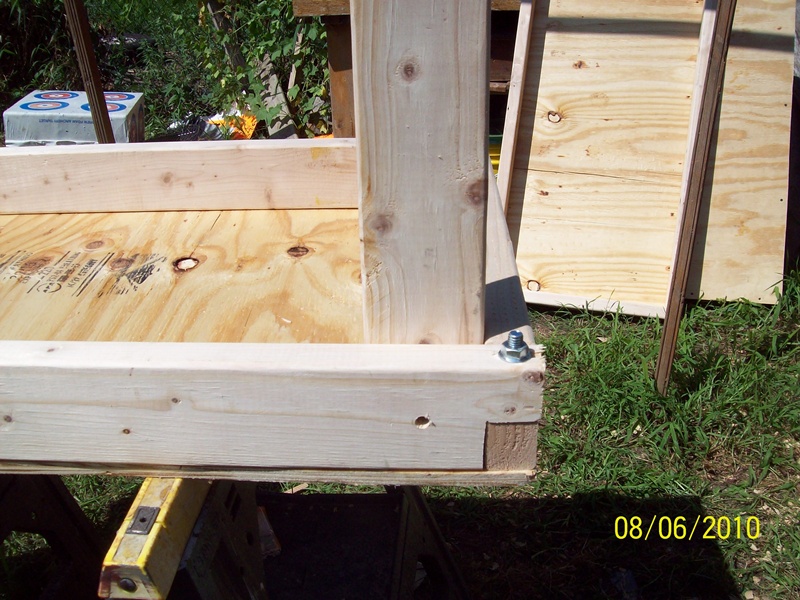
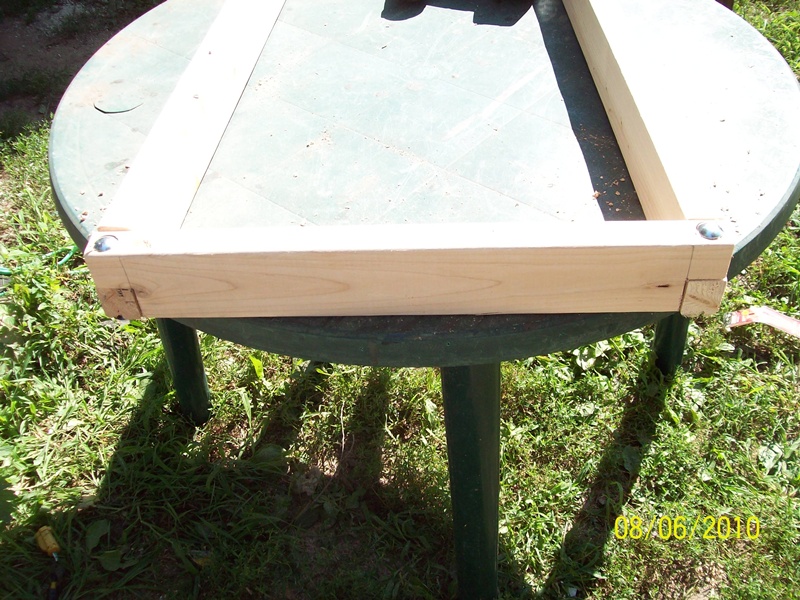 Put the crosspieces and rails together. Drill a 3/8 inch hole through both pieces of the wood. Insert the bolt (with washers next to the wood) and loosely put on the nut. This will hold the end together as you drill the other side. Do this for all the frames.
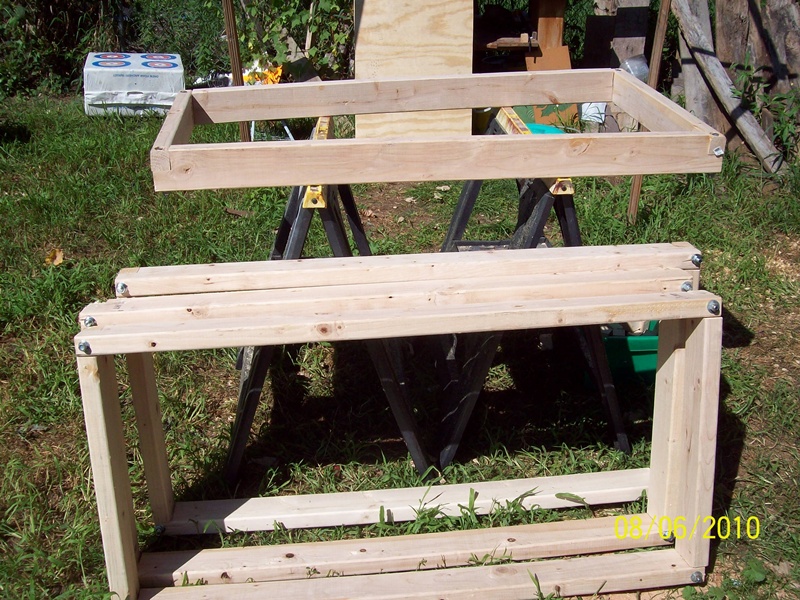
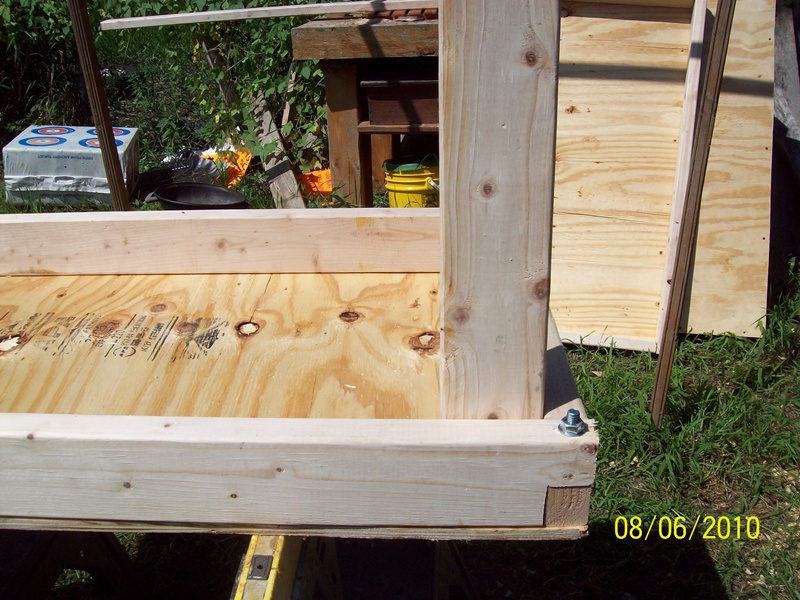
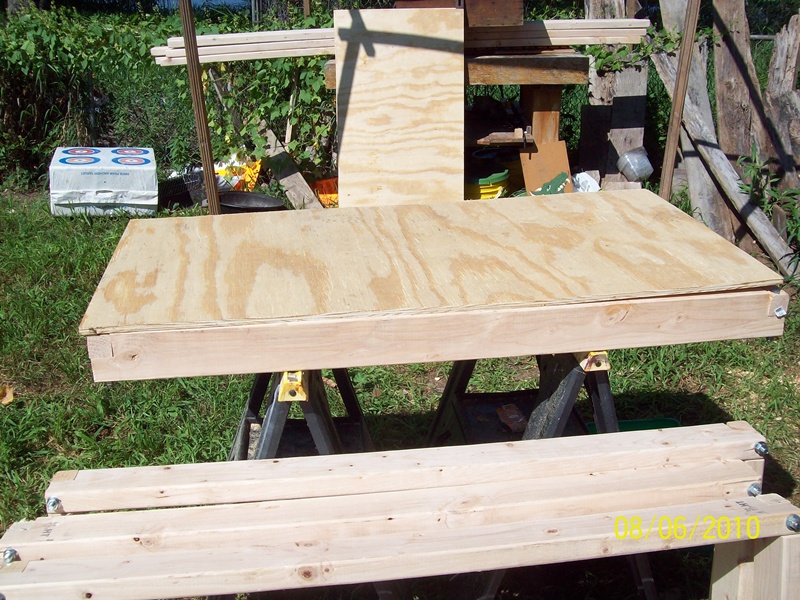 Set a frame on a stable support - bolt head side up. Then put on one of the top pieces cut out above (smooth side up.)
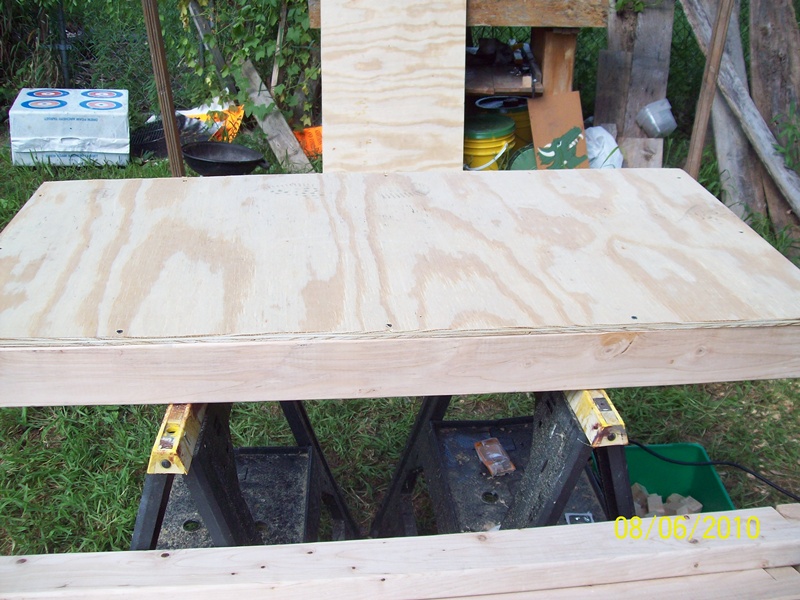
 Using the deck screws, attach the top to the frame. Line the edges up to the top, as the frame will move to fit. After the top is attached, tighten the nuts to tighten the frame.
 Cut the legs to length. Use the guide at the top of the list for suggested heights. Reminder, 4 needed per table/bench.
 Place a leg into position, then drill a hole for the leg bolt.

 Lay the leg down in the top. Drill a second hole through the side of the table.
 Place the second leg on the same rail in position, then drill a hole for the leg bolt. Using that hole leg bolt hole for a guide, drill a second lower hole in the first leg.
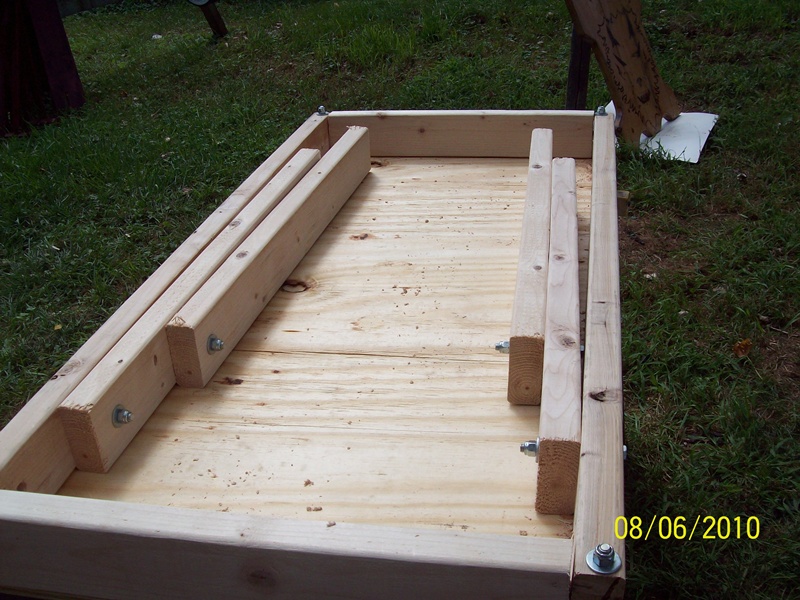 Using the leg bolts (washers next to the wood), loosely attach the legs together by the hole just drilled in the last step. Lay the connected legs in the table and attach the leg to the side. Do the same for the other side. You now have the table in storage/transport mode.
To provide water and weather proofing, it is recommended you seal the top. We painted the tables with our heraldry using outdoor latex paint (not shown.)

 Kingdom of the Middle
 NorthWoods
 WealdLake